The process of viewing Emails:
- First of all, you need to log in to C-Panel.
- Once you are logged into C-panel, you will get access to your email completly.
- In the tools, find track delivary and click that. It will be in email module.
- There, all the details will be shown including the results from date and time, success, failures, pages and so. on.
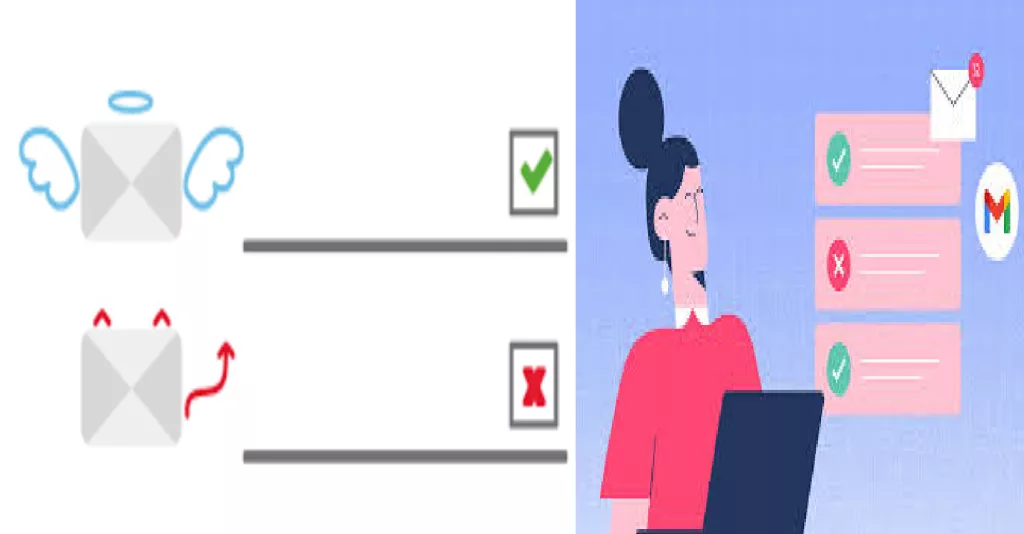
- There, if we slide it down, we can see who sent the email. If it shows green ticks then we have already recived the email but if we find any red cross then we can know that the email has been sent to us but we haven’t recieved the email.
- The red cross emails can be someone such as spammers, unwanted scripts which the system has blocked automatically that is shown by the red cross here.
Now, let us see the way of making blacklisting and whitelisting emails:
Blacklisting is a method of controlling access to data or networks by identifying users or devices that are not allowed. This is usually done by keeping a list of known bad actors or dangerous IP addresses and blocking any traffic from those addresses. Blacklisting can be used to block specific websites, email addresses, or even entire countries. This approach is threat-centric and allows access as the default setting.
Whitelisting is the opposite of blacklisting. Instead of blocking specific addresses or devices, whitelisting allows only specific addresses or devices to access data or networks. This is usually done by keeping a list of trusted users or devices and only allowing traffic from those addresses.
- In the cPanel, there is a spam filter icon in the home page (tools section) we have to click there first.
- In the spam filter, we need to scroll down until we find Additional configuration section. There we need to click in show additional configuration.
- After that we again need to scroll down until we see “edit spam blacklist setting” and “edit spam whitelist setting”.
- If we need to whitelist the we can click in the whitelist setting and click in “add a new whitelist item”. There we need to type full email id of the person and we will only recieve the emails from that particular person.
for example:
- user@example.com — To whitelist a single email address.
- *@example.com — To whitelist all of the addresses at example.com domain.
- ?ser@example.com — To whitelist a single character in an address at example.com (i.e., user@example.com, but not theuser@example.com).
And that’s it. The email address or domain you entered has now been whitelisted. You can edit it at any time by coming back to this section and changing what is in that textbox.
Alternatively, you can add more by repeating this step.
- Like wise, the process for blacklisting is also similar.
The email or domain you entered will be blacklisted, which means you will never receive an email from them again.
You can edit this section at any time, or if you want to add more, just repeat this step as many times as necessary.
In this way we can whitelist or blacklist a any person or domin.
As the popularity of email has skyrocketed, so too has the number of spam messages you receive. Businesses of all sizes are trying to fill your inbox with their offers and more nefarious players are trying to scam you.
When combined, checking your email can become a burden, which can lead to you missing some important information. Thus, by utilizing spam filtering tools, you can keep your inbox clean.
Of course, spam filters are not perfect, which is why whitelisting may be necessary as real emails can get blocked. As a result, it is a good policy to sometimes take a look in your spam folder to see if everything is working as intended.

